Identifying the Source of the Leak: Water Leaking From Ceiling Under Bathroom

A leaky ceiling under a bathroom can be a major source of stress, but pinpointing the source of the leak is the first step to fixing the problem. Understanding common causes and how to visually inspect the bathroom will help you determine where the water is coming from.
Common Causes of Bathroom Ceiling Leaks
The most common causes of water leaks in bathrooms that result in ceiling leaks are related to plumbing fixtures, pipes, and the shower or tub itself. Let’s examine each of these areas in detail.
Visual Inspection for Signs of a Leak
A thorough visual inspection of your bathroom can help you identify the source of the leak. Look for the following signs:
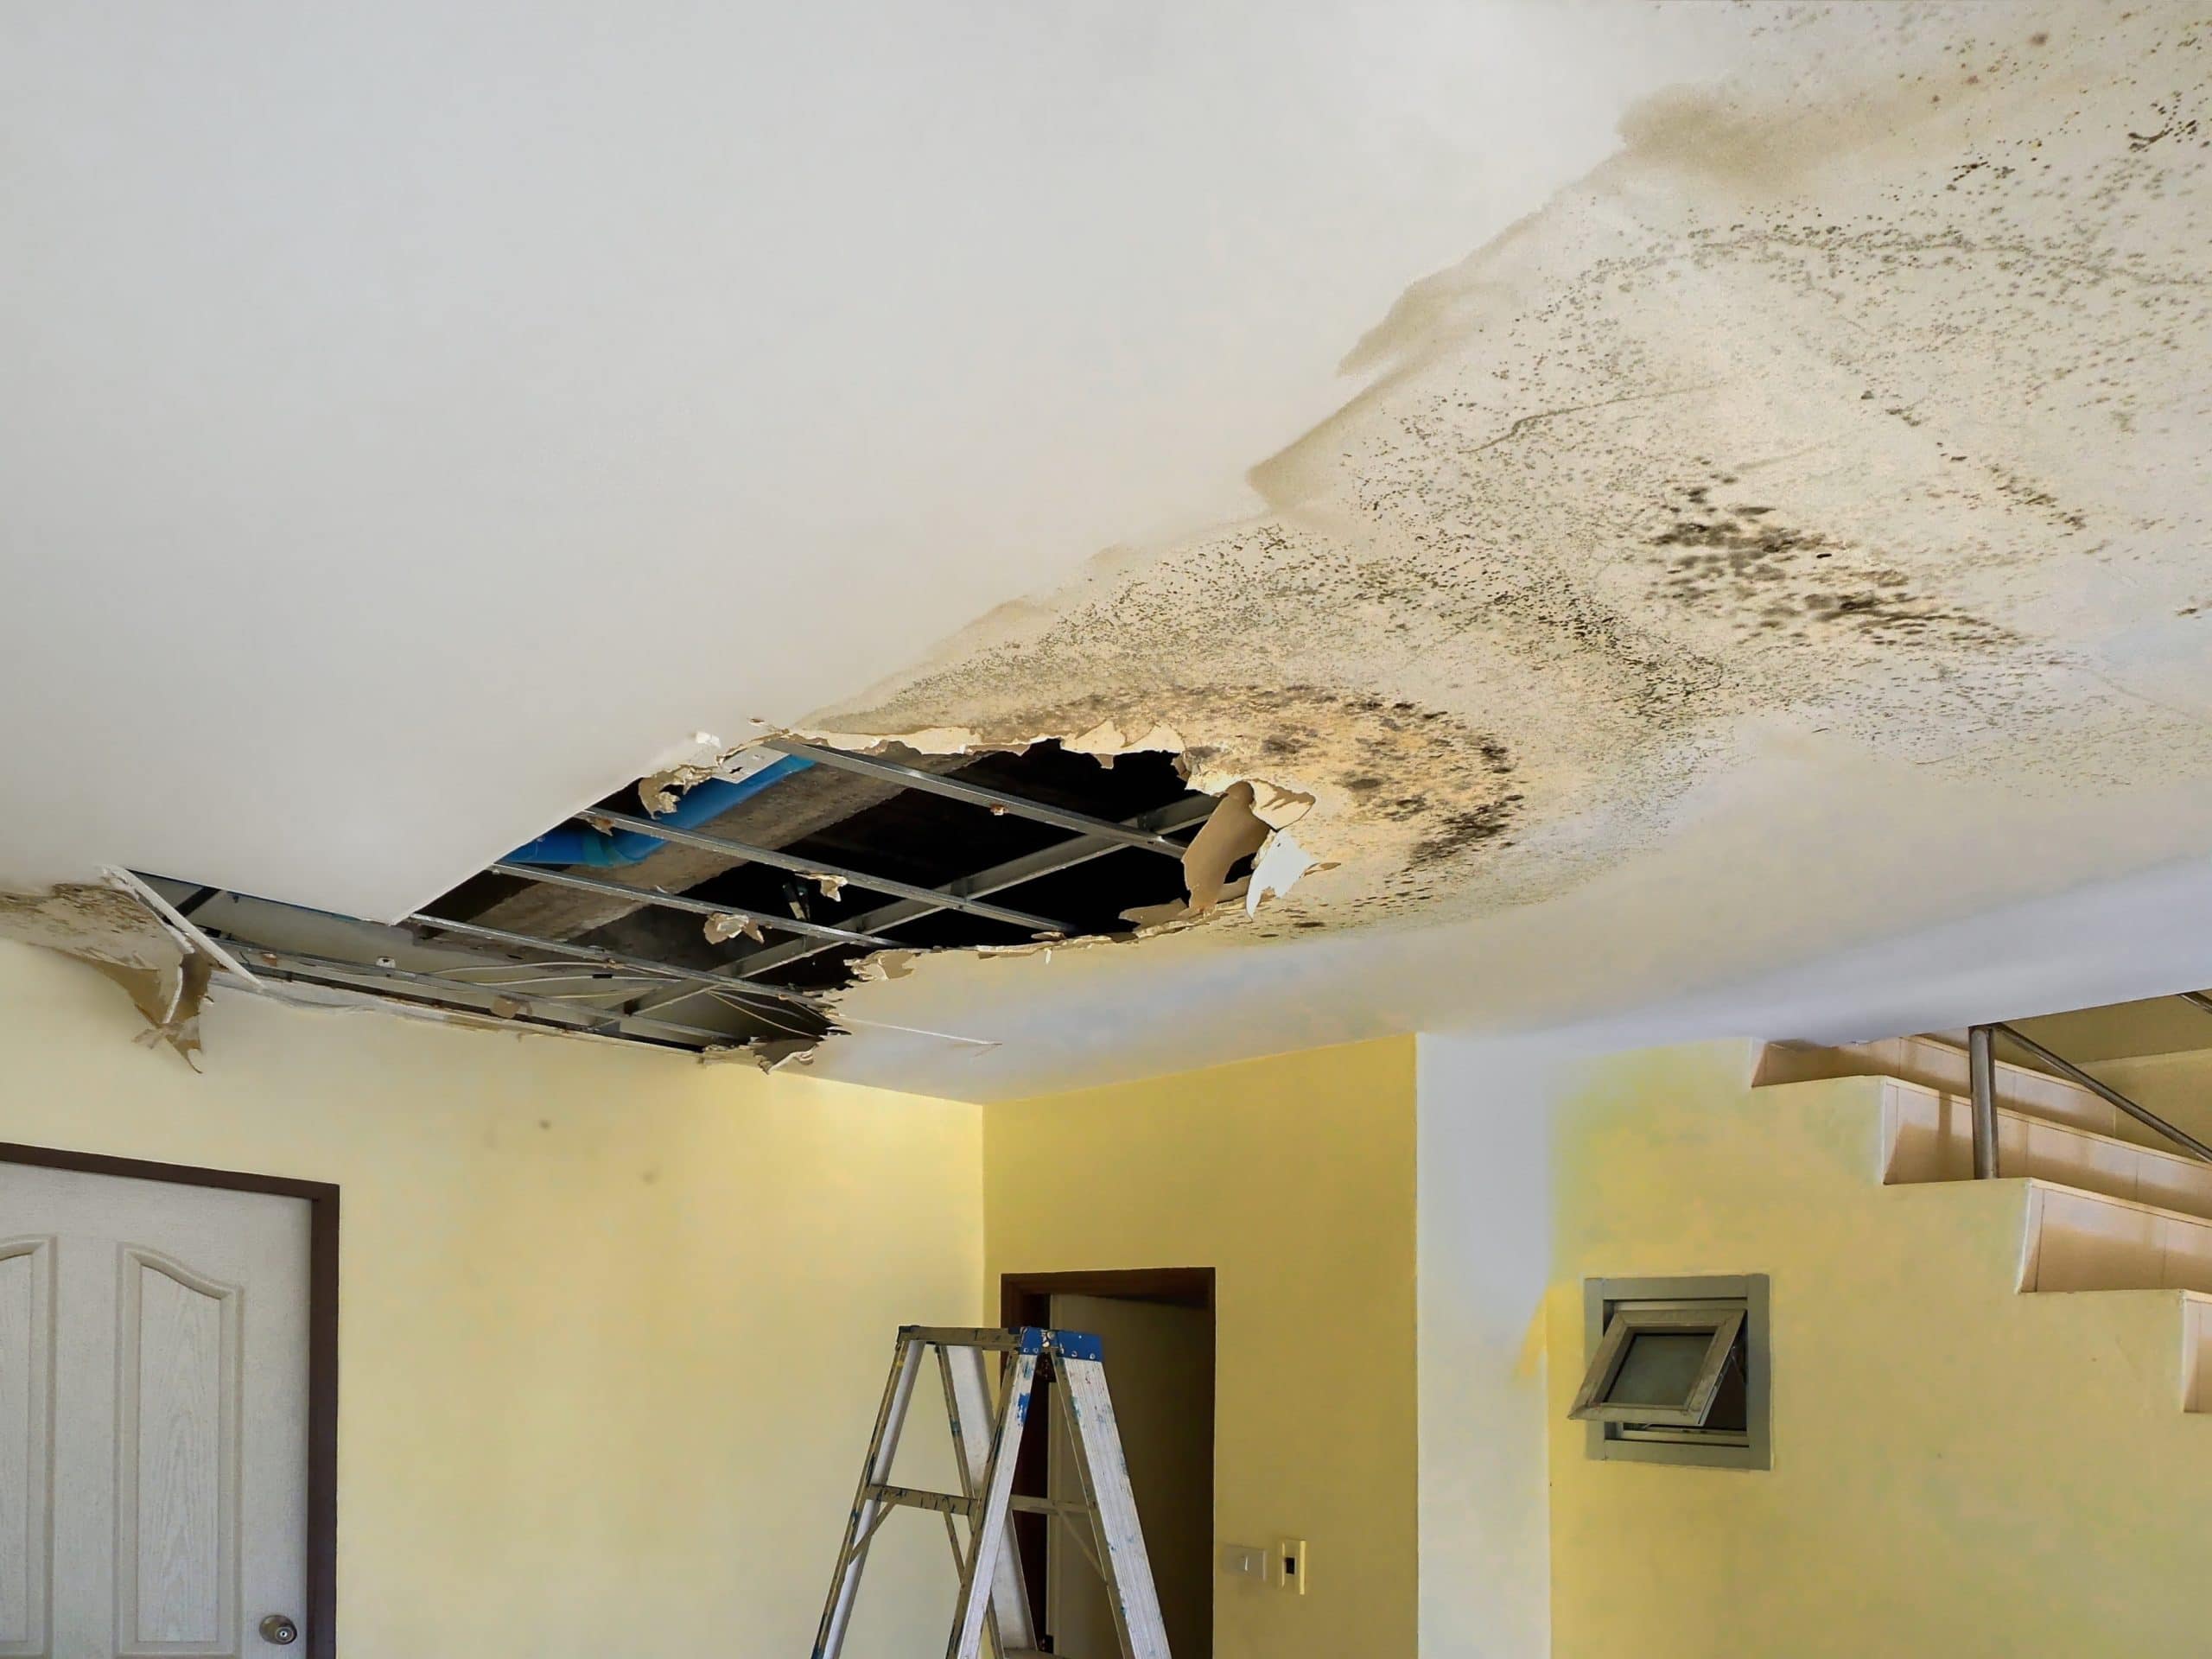
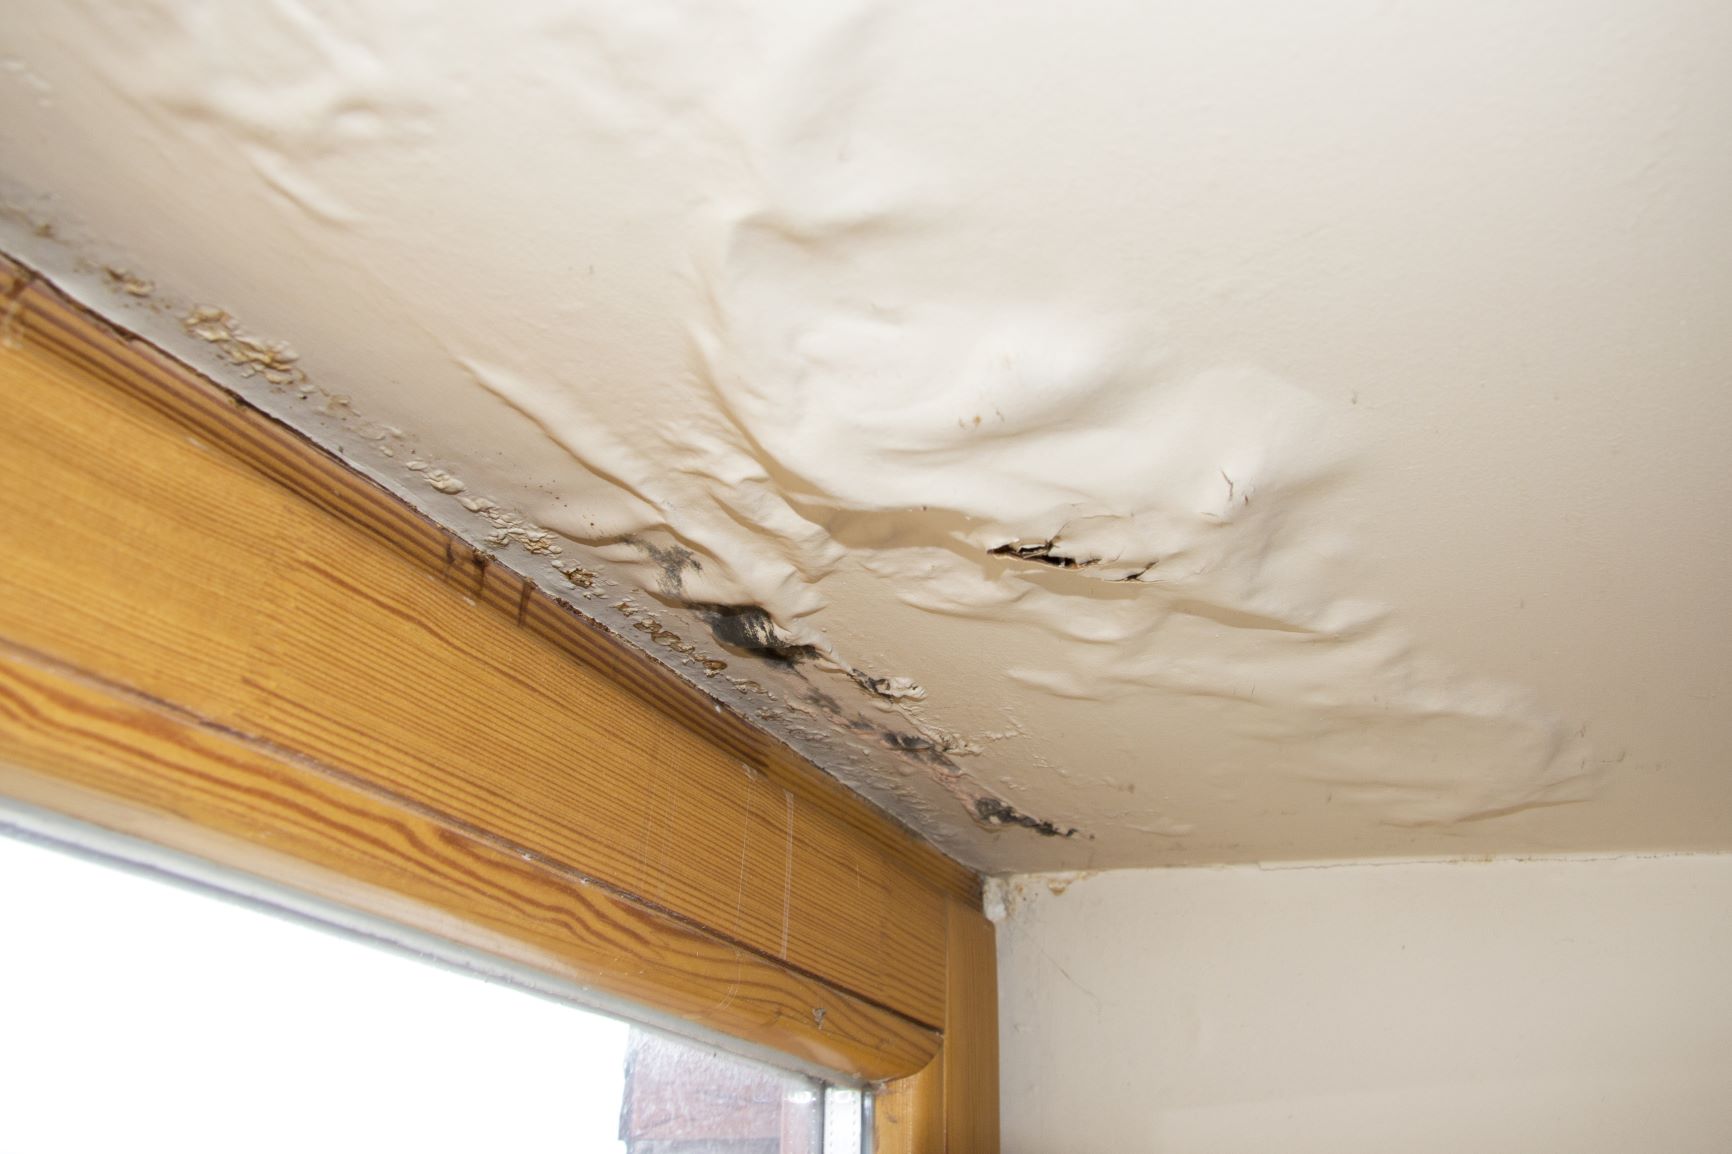
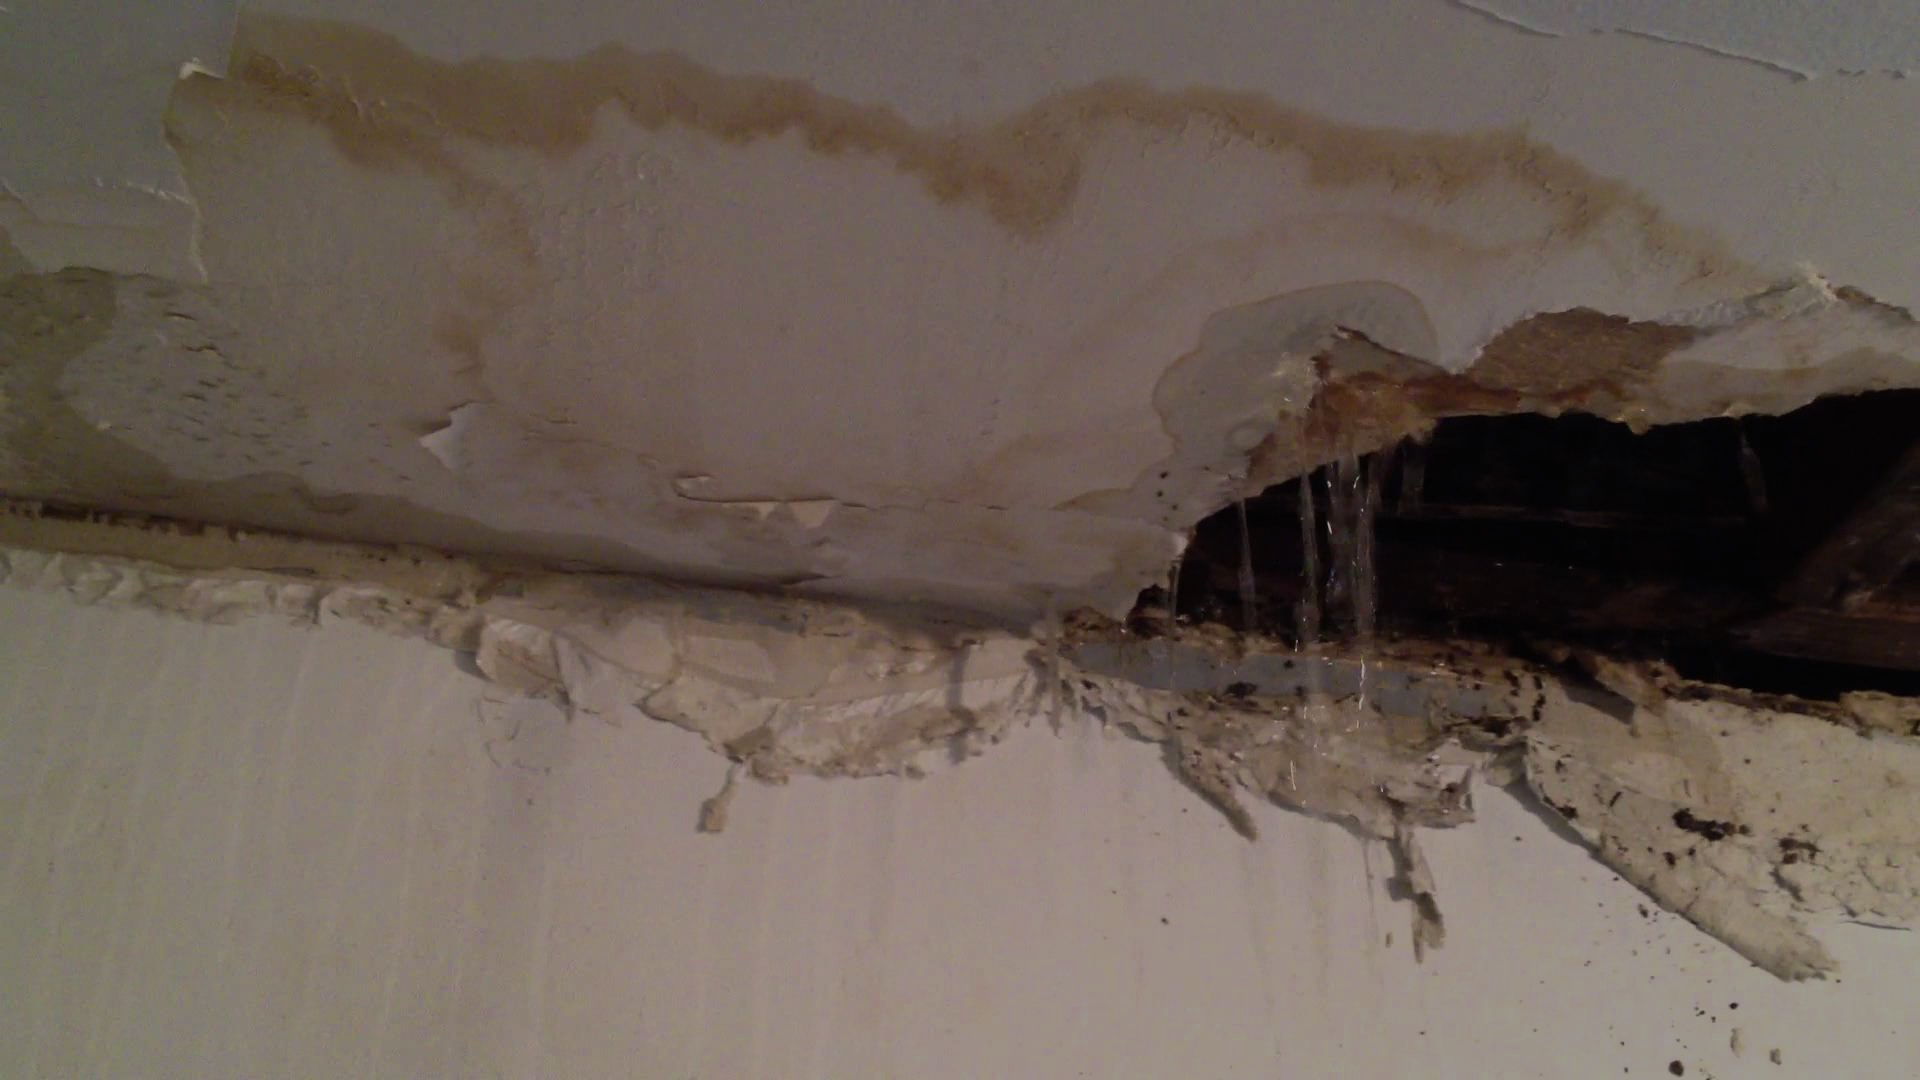
- Dampness or Water Stains: Dampness or water stains on the ceiling, walls, or floor are clear indicators of a leak. These stains can be caused by water dripping from the ceiling or seeping through cracks in the walls or floor.
- Discoloration: Discoloration on the ceiling or walls, especially if it’s a darker shade of the original color, could also indicate a leak. This discoloration is often caused by water damage and can be a sign of a persistent leak.
- Visible Water Damage: Visible water damage, such as warping or buckling of the ceiling or walls, is a more serious sign of a leak. This damage can be caused by prolonged exposure to water and may require extensive repairs.
Potential Leak Sources
Once you’ve completed your visual inspection, it’s time to focus on the potential sources of the leak. Here are some of the most common areas to investigate:
- Plumbing Fixtures: Faulty faucets, showerheads, or toilets can all leak, leading to water damage on the ceiling below. Check for leaks around the base of these fixtures, as well as the pipes connected to them. If you suspect a leaking toilet, you can add a few drops of food coloring to the tank and check the bowl for color after 30 minutes. If the bowl changes color, you have a leaking toilet.
- Pipes: Leaking pipes are another common cause of ceiling leaks. This can be caused by corrosion, cracks, or loose connections. Check for leaks around the joints of pipes, as well as along the length of the pipes themselves. Look for signs of rust or discoloration on the pipes, which could indicate a leak.
- Shower or Tub: The shower or tub itself can also be a source of leaks. Check for leaks around the drain, as well as the seals around the shower or tub. Look for cracks or damage to the shower pan, which could be allowing water to escape.
Troubleshooting and Repair

Once you’ve pinpointed the source of the leak, it’s time to get to work on fixing it. This section will guide you through the process of identifying and repairing common types of leaks in your bathroom.
Identifying the Leak Location
Pinpointing the exact location of the leak is crucial for effective repair. Two tools can be invaluable in this process: a moisture meter and leak detection dye.
- A moisture meter measures the moisture content of surfaces, helping you identify areas with high moisture levels, which often indicate the presence of a leak.
- Leak detection dye is a liquid that’s added to the water supply. The dye travels through the plumbing system and stains the water, making it easier to spot leaks, even in hidden areas.
Repairing Common Bathroom Leaks, Water leaking from ceiling under bathroom
Once you’ve identified the leak, you can proceed with the repair. The following table provides a comprehensive overview of common leak types, troubleshooting steps, and repair methods:
| Leak Type | Troubleshooting Steps | Repair Methods |
|---|---|---|
| Leaking Pipes |
|
|
| Leaking Fixtures |
|
|
| Leaking Shower or Tub |
|
|
Preventing Future Leaks

A leaky ceiling, especially one caused by a bathroom leak, can be a major inconvenience. The good news is that with some preventative measures, you can significantly reduce the risk of future leaks.
Regular Plumbing Maintenance
Regular plumbing maintenance is essential for preventing leaks. It involves inspecting your plumbing system for signs of wear and tear, and addressing any issues before they escalate.
- Inspecting Pipes for Corrosion: Look for rust, pitting, or discoloration on pipes, which indicate corrosion. Corrosion weakens pipes and can lead to leaks.
- Checking Faucets and Fixtures: Regularly check faucets and fixtures for leaks or drips. Replace worn-out washers or O-rings to prevent leaks.
- Maintaining Water Pressure: High water pressure can put stress on pipes and fixtures, increasing the risk of leaks. Adjust your water pressure regulator to ensure it is within the recommended range.
Using Sealant Around Fixtures
Sealant helps to create a watertight barrier around fixtures, preventing water from seeping into surrounding areas.
- Caulking Around Tubs and Showers: Apply a bead of caulk around the edges of tubs and showers to prevent water from seeping behind the tiles.
- Sealing Around Sinks: Use sealant around the base of sinks to prevent water from leaking underneath.
- Inspecting and Replacing Sealant: Inspect sealant regularly for cracks or gaps, and replace it as needed.
Recommended Products and Materials
| Preventative Measure | Recommended Products | Estimated Cost | Inspecting Pipes for Corrosion | Corrosion-resistant pipe, such as PEX or CPVC | Varies depending on pipe type and length | Checking Faucets and Fixtures | Replacement washers, O-rings, and cartridges | $5 – $20 per part | Maintaining Water Pressure | Water pressure regulator | $20 – $50 | Caulking Around Tubs and Showers | Silicone caulk | $5 – $10 per tube | Sealing Around Sinks | Silicone caulk | $5 – $10 per tube |
|---|
